Francesca Woodman Worked Based Photoshoot
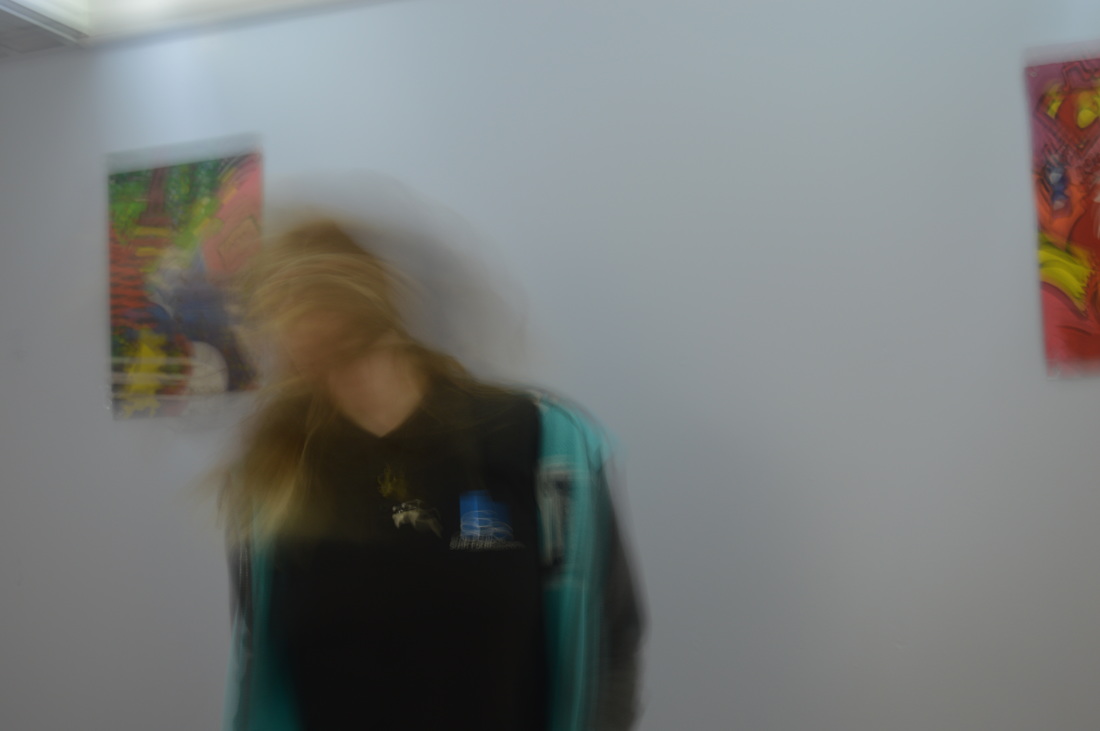
Final Piece
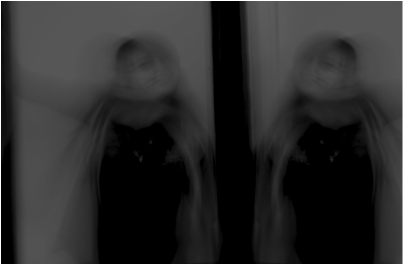
This is one of my final pieces based on the photographer Francessca Woodman. I like the way the image turned out to be similar to hers in the chostly effect way. The tools I used were just simple and I couldve used more complicated ones, but I am still proud with the way the image came out after all the editing. The things I could improve would be to probabaly blend image to make it more detailed and also to use ecperiment with different effects. But overall I amvery proud of this image and when i look at this image it makes me feel in a dark place with no noises or sound just me by myslef, also I feel like theres a story behind every photo created even this one that Ive edited.
Screen-shots
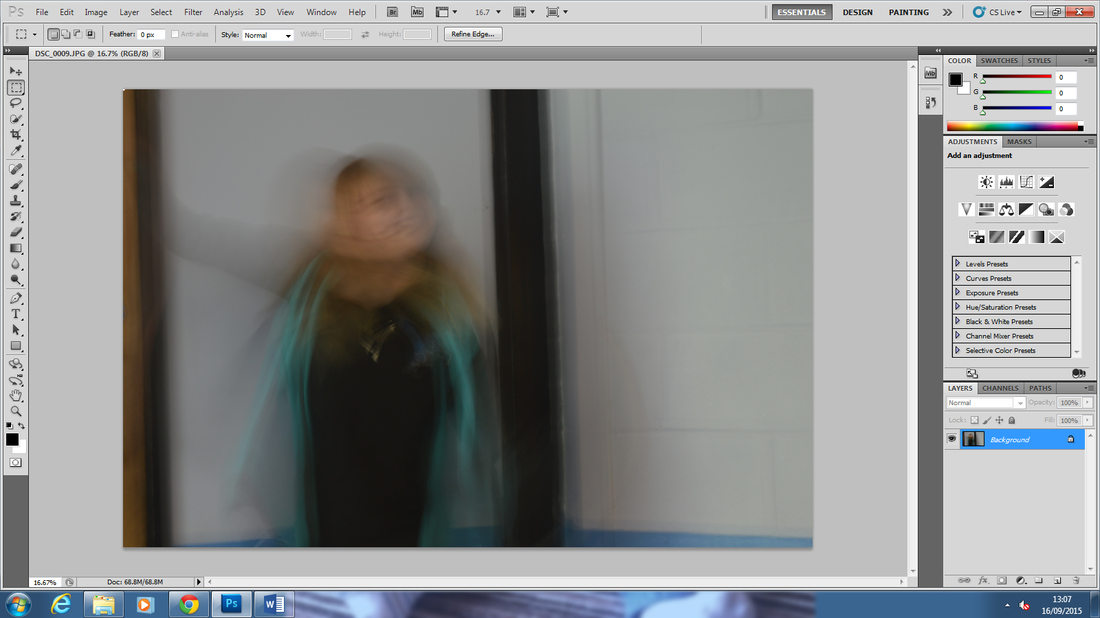
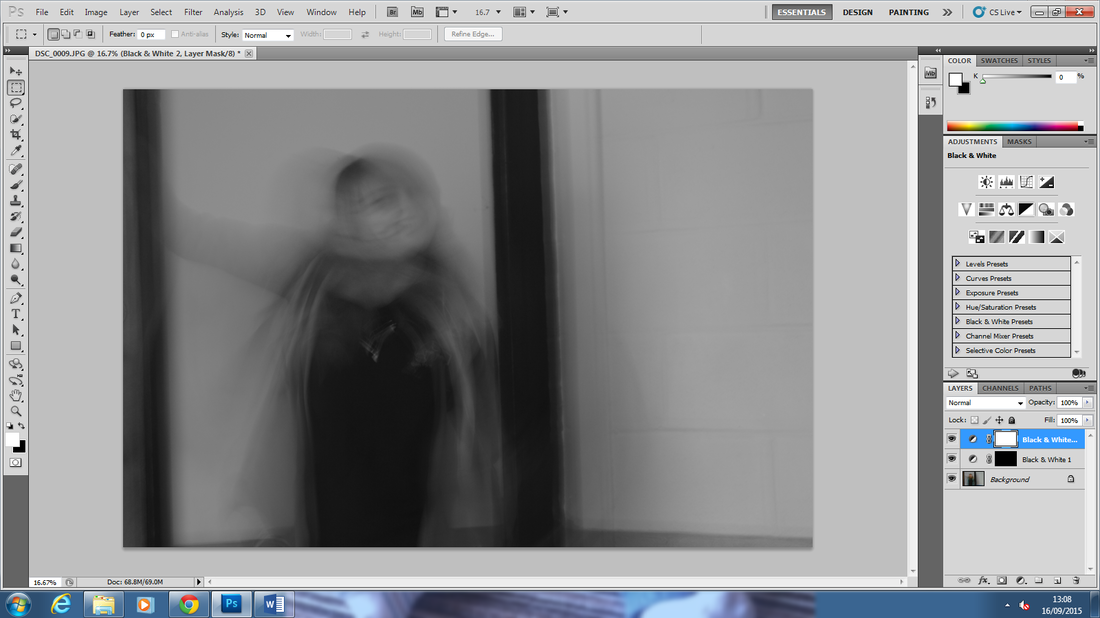


Step 1: The first step I did was turn the image black and white with the black and white tool, so it would contrast with the photographer I researched.
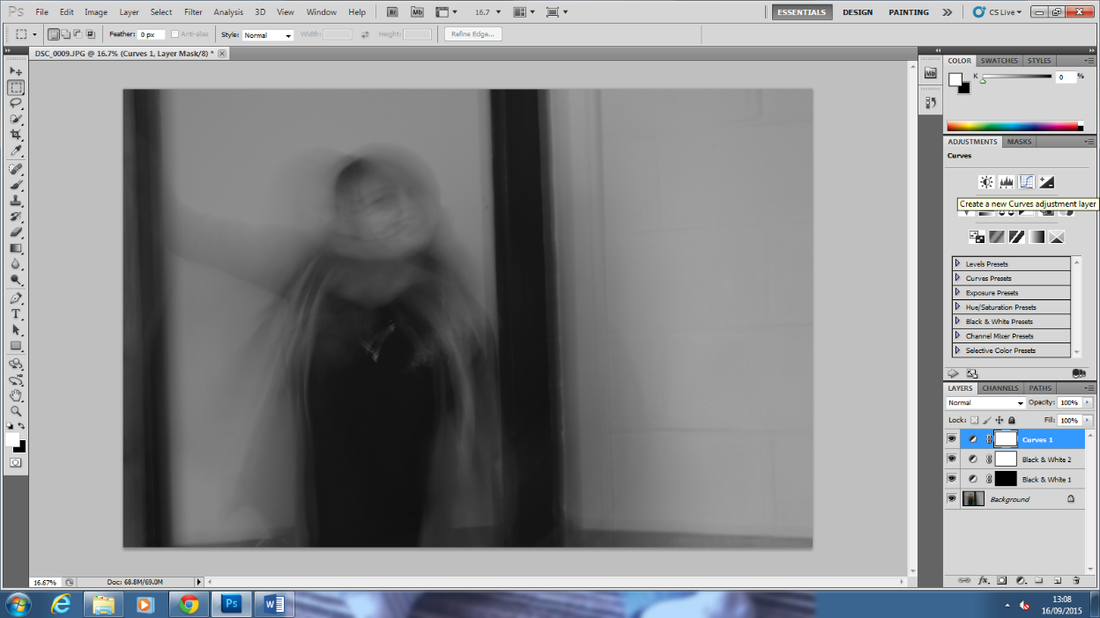
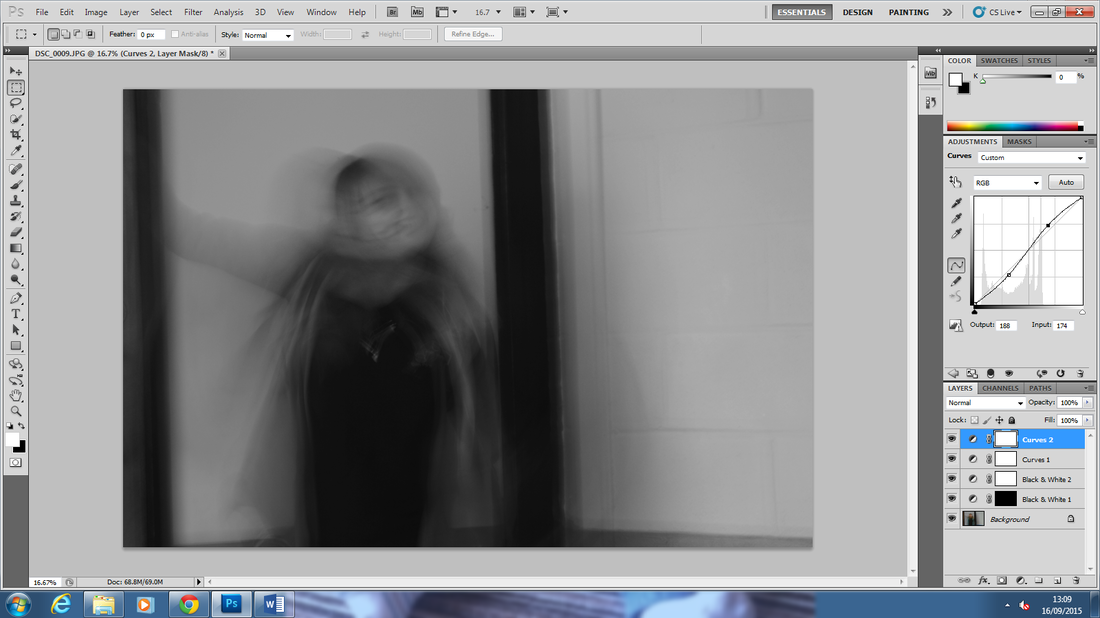
Step 2: I then when onto the curve tool where i then experimented with the bar making it more darker on the on the background and the clothing, so it brings out the ghostly figure on the face.
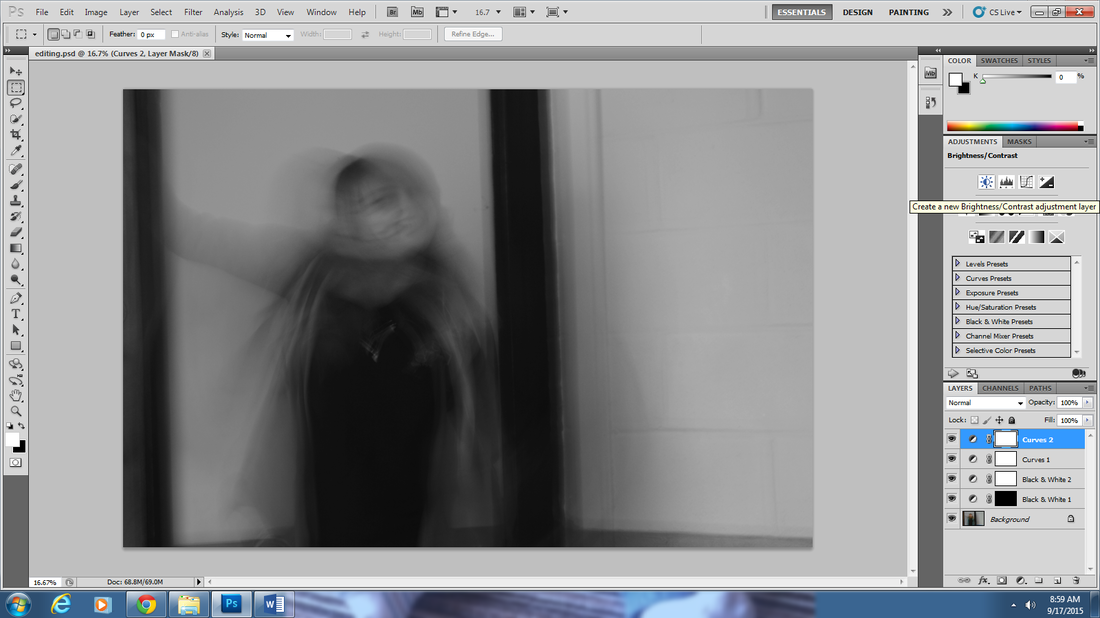
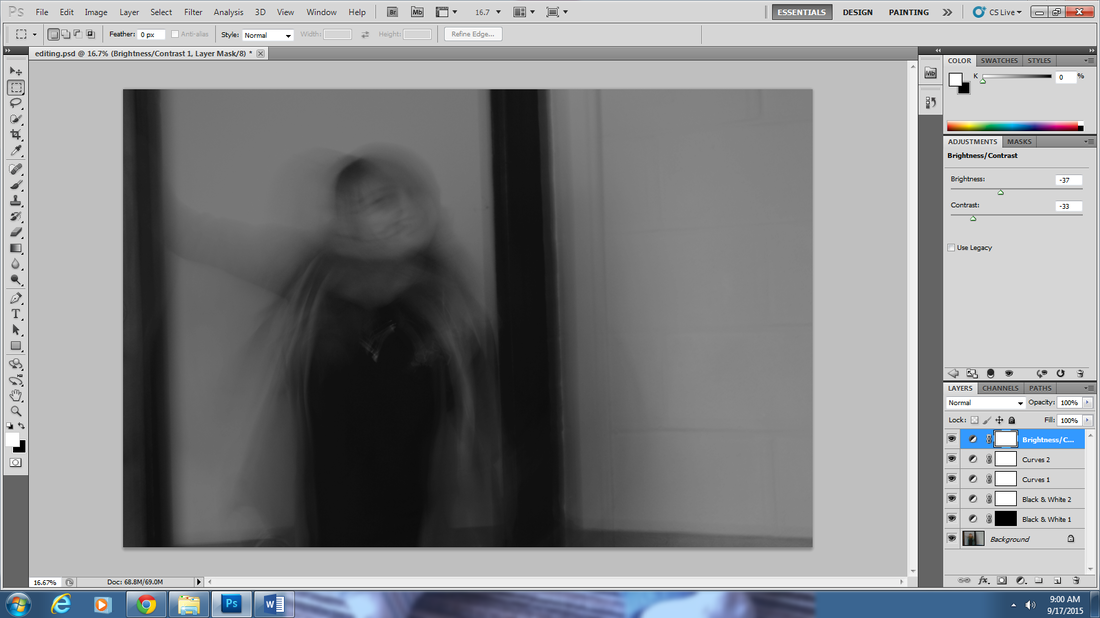
Step 3: After that I went onto the brightness and contrast tool where I made the image more detailed and made tit that little more darker and slowly bringing out the ghostly theme from the photographer I researched.
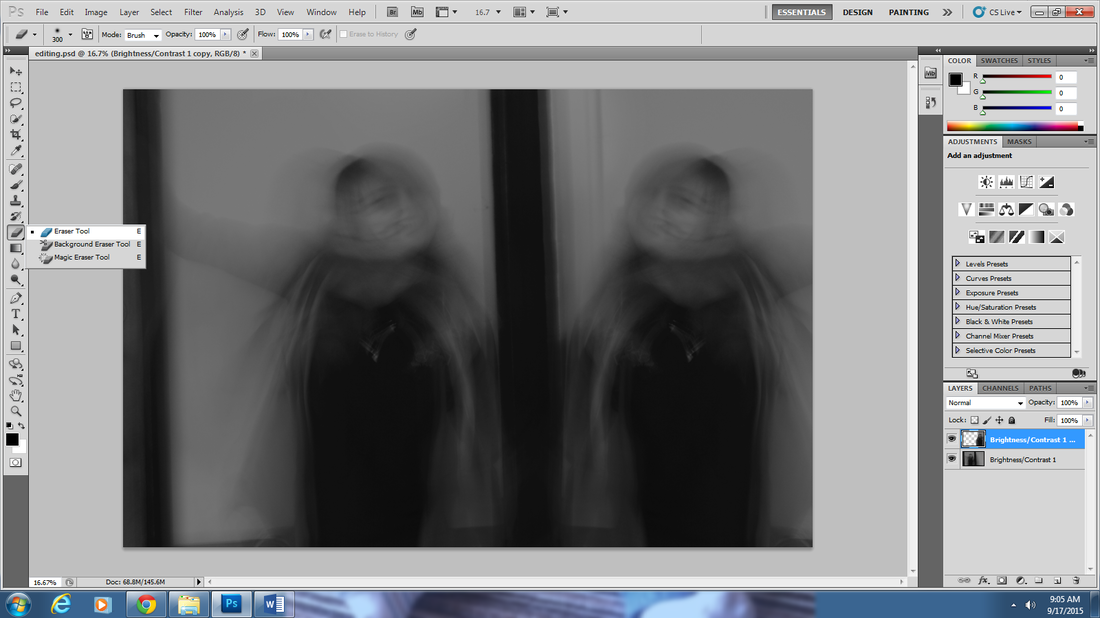
Step 4: I went onto to use the rectangular tool where i highlighted the whole image and merged it in on the side bar, which then I pasted it on top of my other image, where then i rotated the image, so it was placed the opposite side to the orginal one.
Step 5: After I used the eraser tool to erase the half of the image I did not need, so then I moved it into the position i needed it in to make it look more ghost like and similar to my photographer.
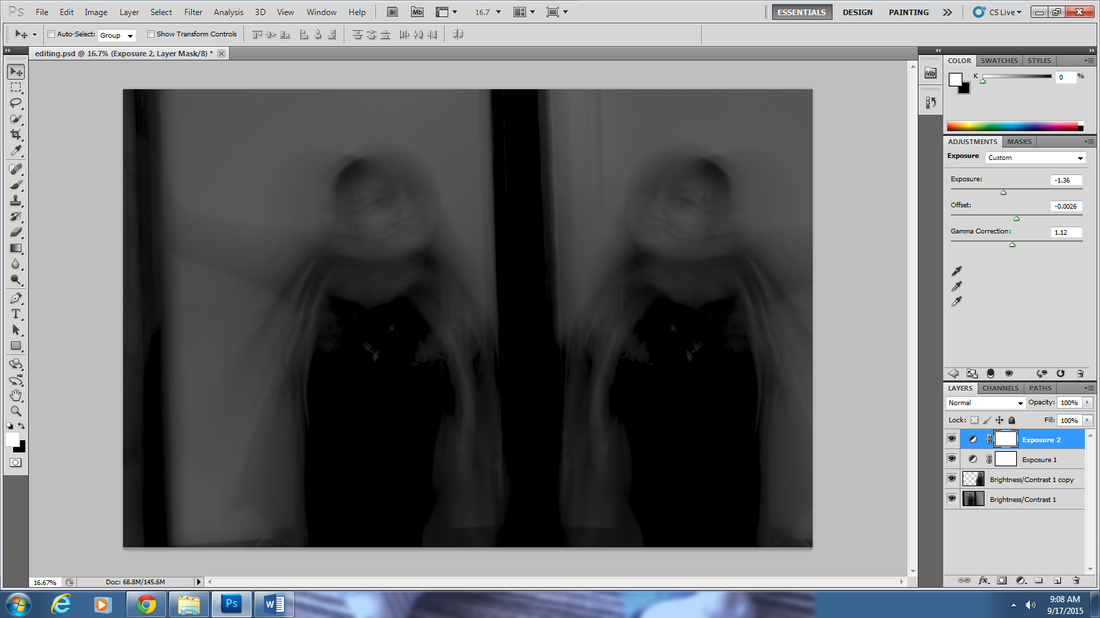
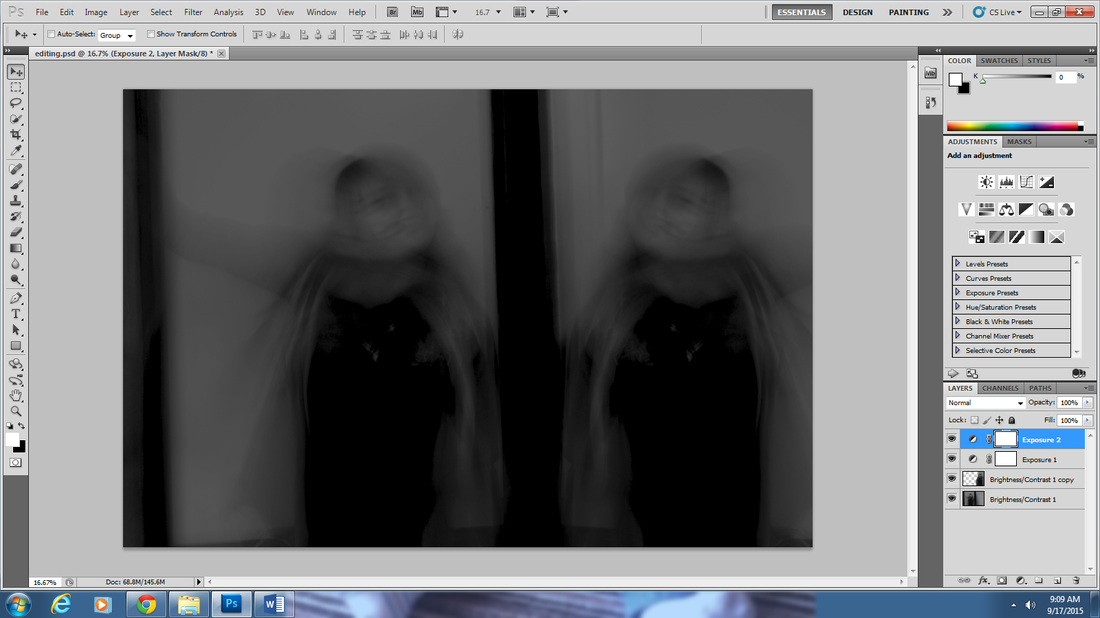
Step 6: Then i went ahead and went to use the exposure tool where I changed the exposure bar, the offset bar and the gamma correction bar to make it more dark and make the face more ghostly to the rest of the image.
Step 2: I then when onto the curve tool where i then experimented with the bar making it more darker on the on the background and the clothing, so it brings out the ghostly figure on the face.
Step 3: After that I went onto the brightness and contrast tool where I made the image more detailed and made tit that little more darker and slowly bringing out the ghostly theme from the photographer I researched.
Step 4: I went onto to use the rectangular tool where i highlighted the whole image and merged it in on the side bar, which then I pasted it on top of my other image, where then i rotated the image, so it was placed the opposite side to the orginal one.
Step 5: After I used the eraser tool to erase the half of the image I did not need, so then I moved it into the position i needed it in to make it look more ghost like and similar to my photographer.
Step 6: Then i went ahead and went to use the exposure tool where I changed the exposure bar, the offset bar and the gamma correction bar to make it more dark and make the face more ghostly to the rest of the image.
|
|
|
|
|
|
|
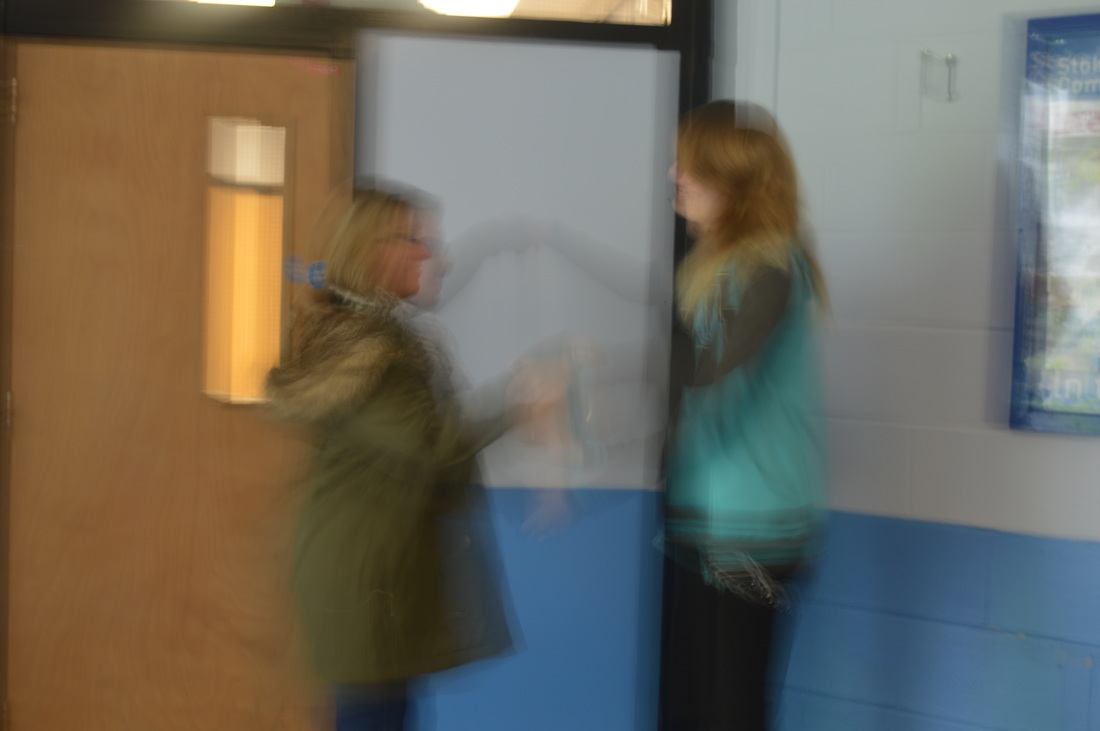
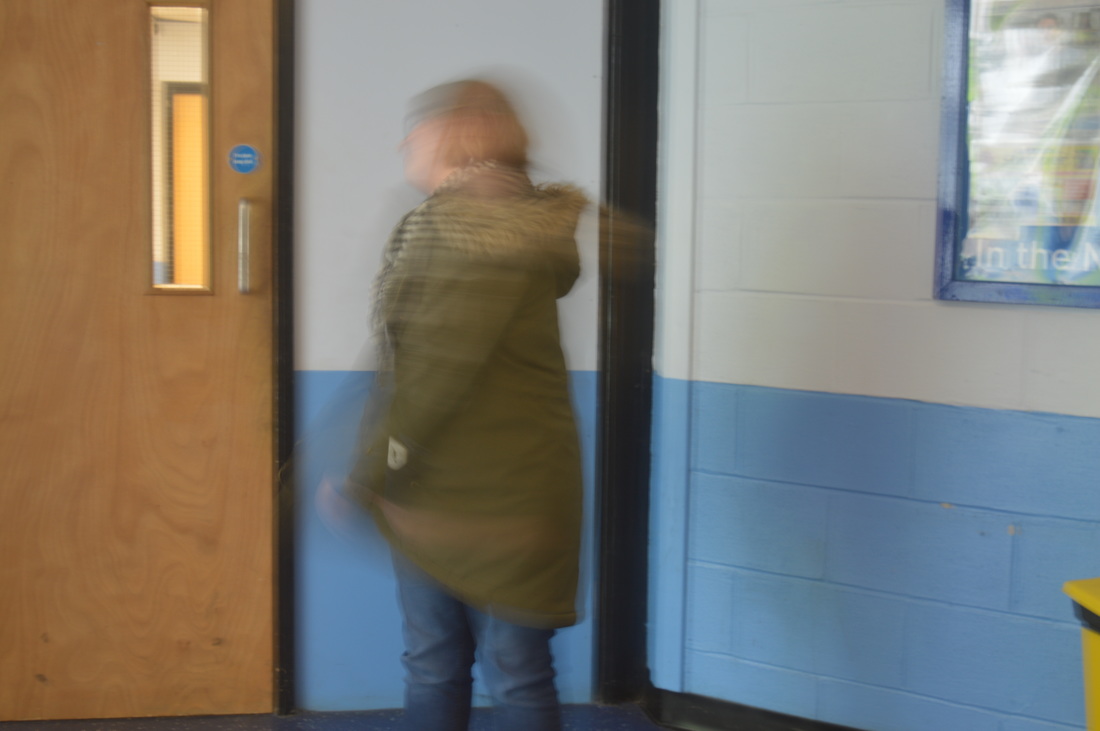
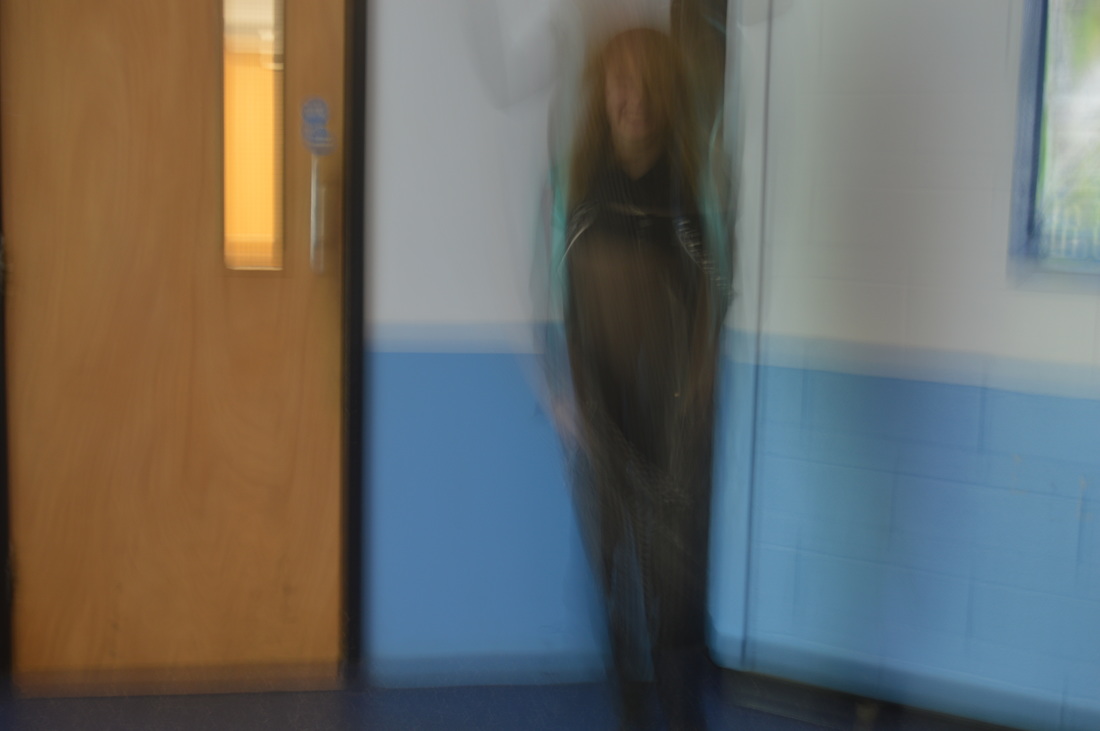
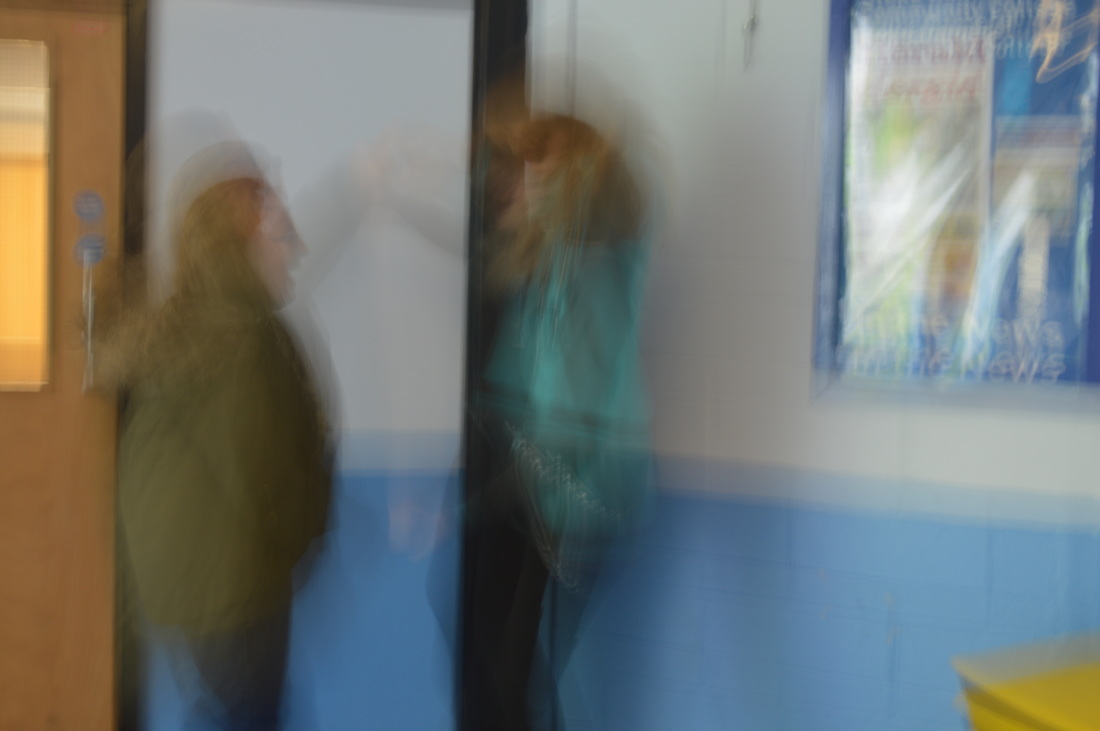
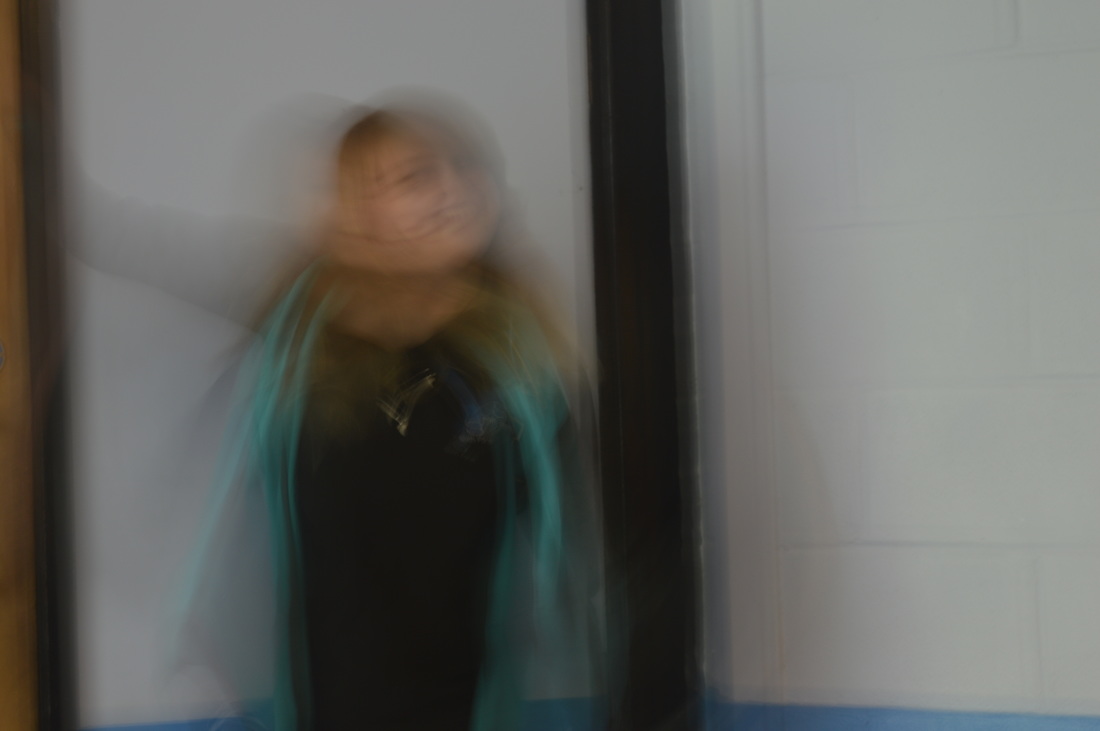

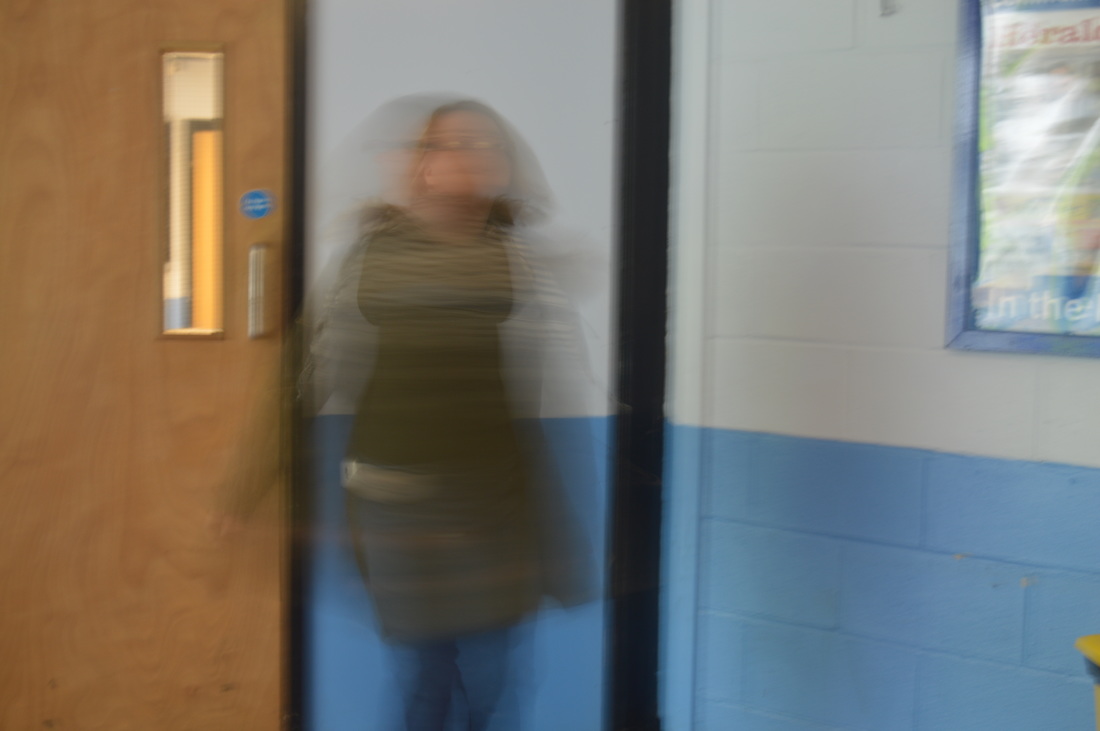
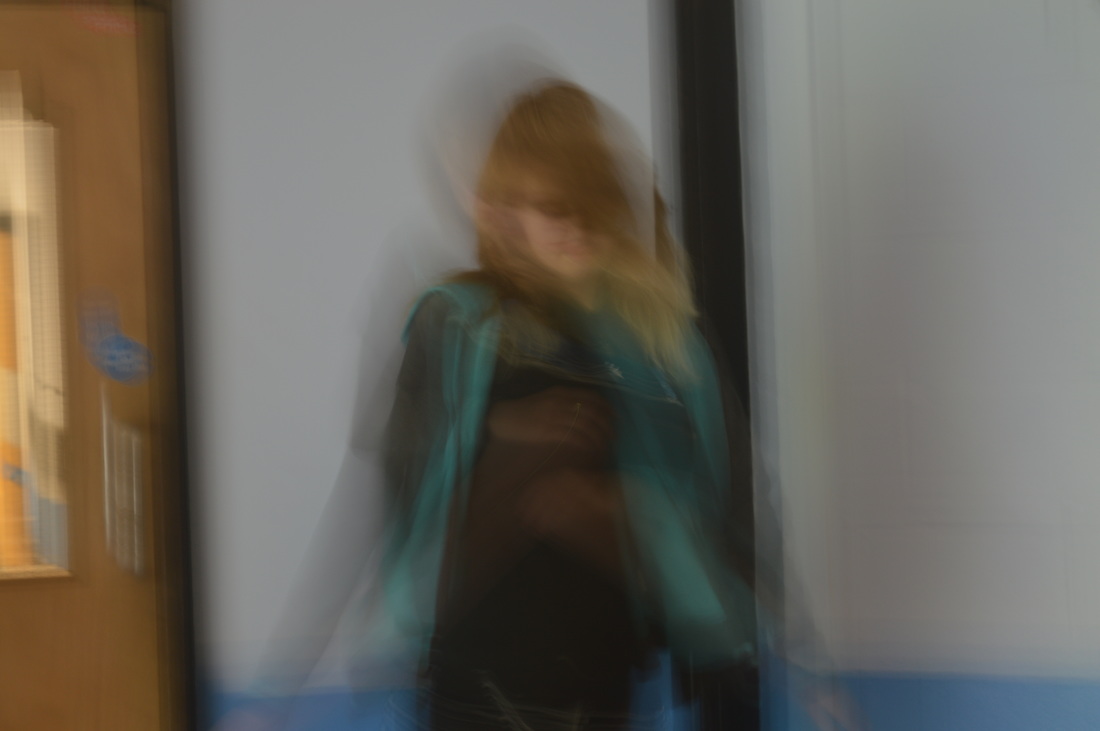
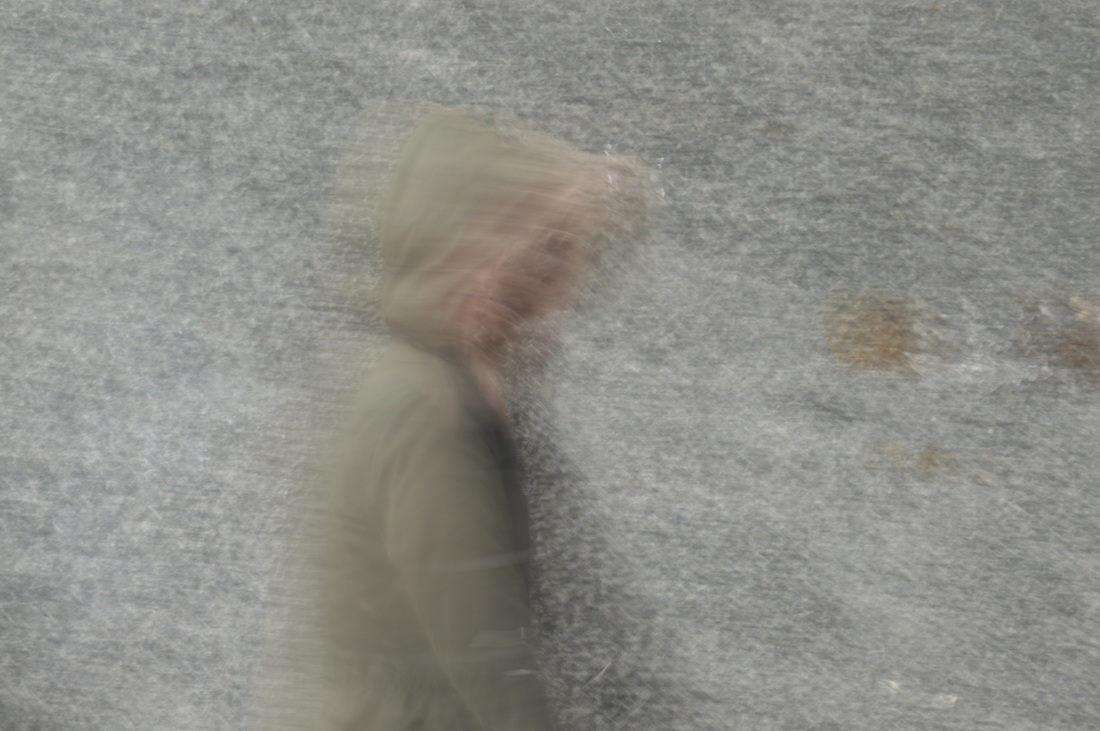
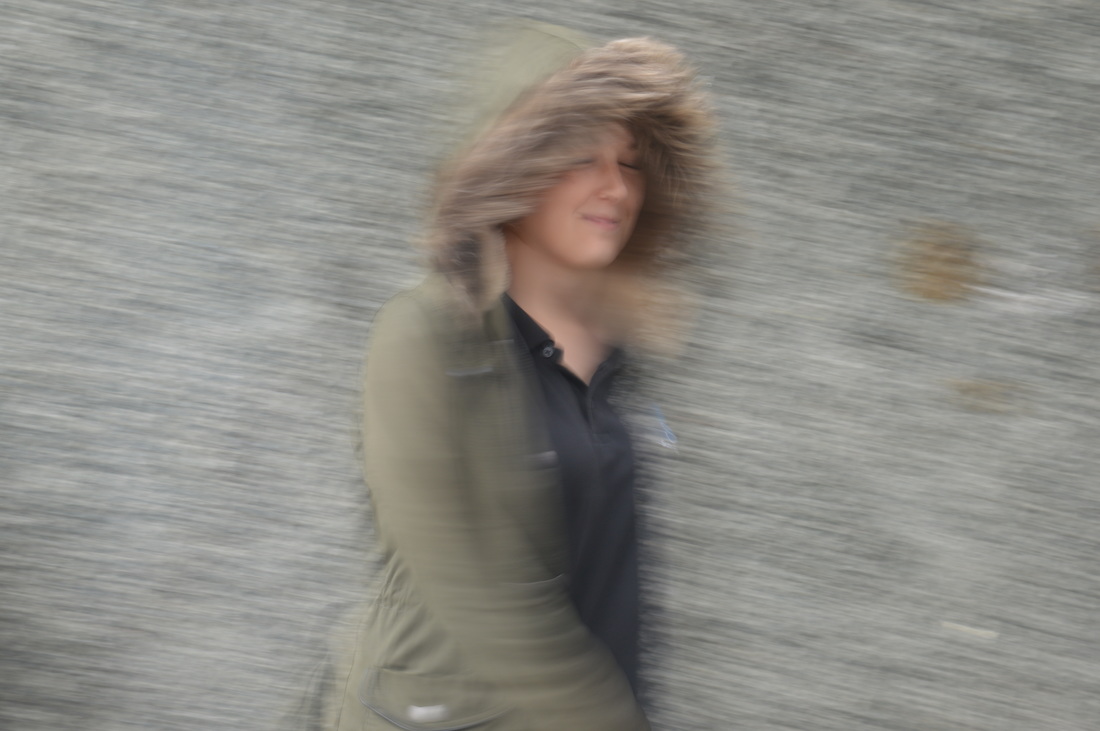
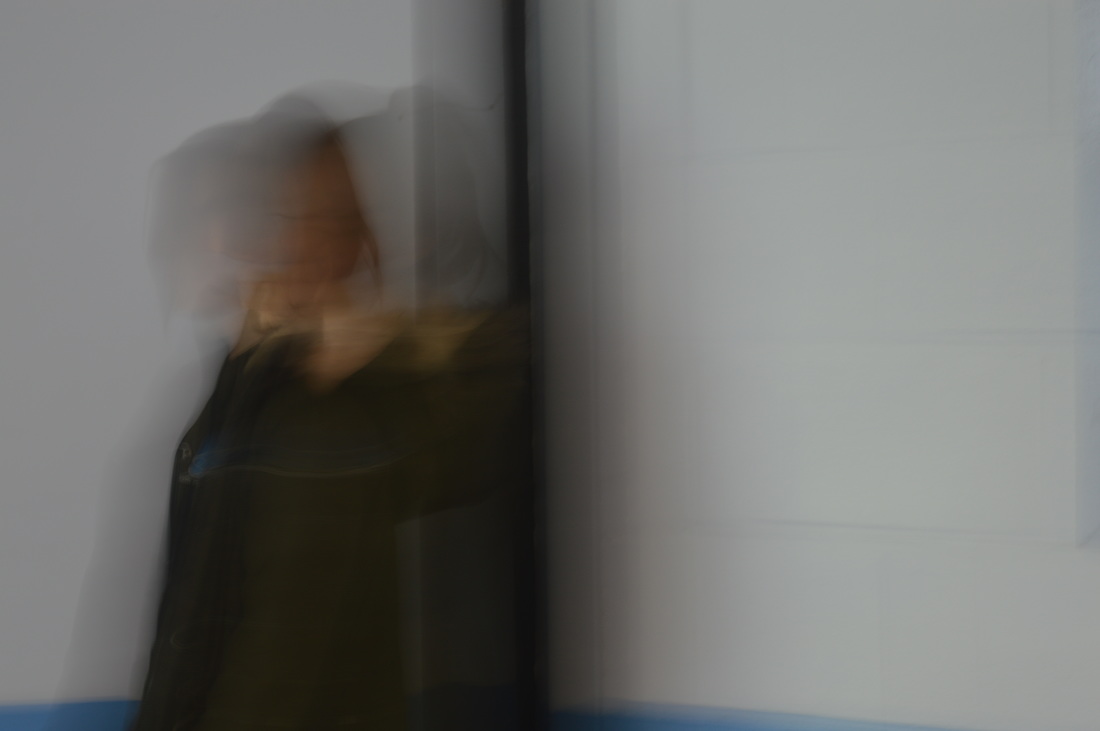
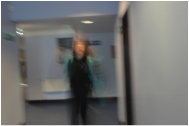
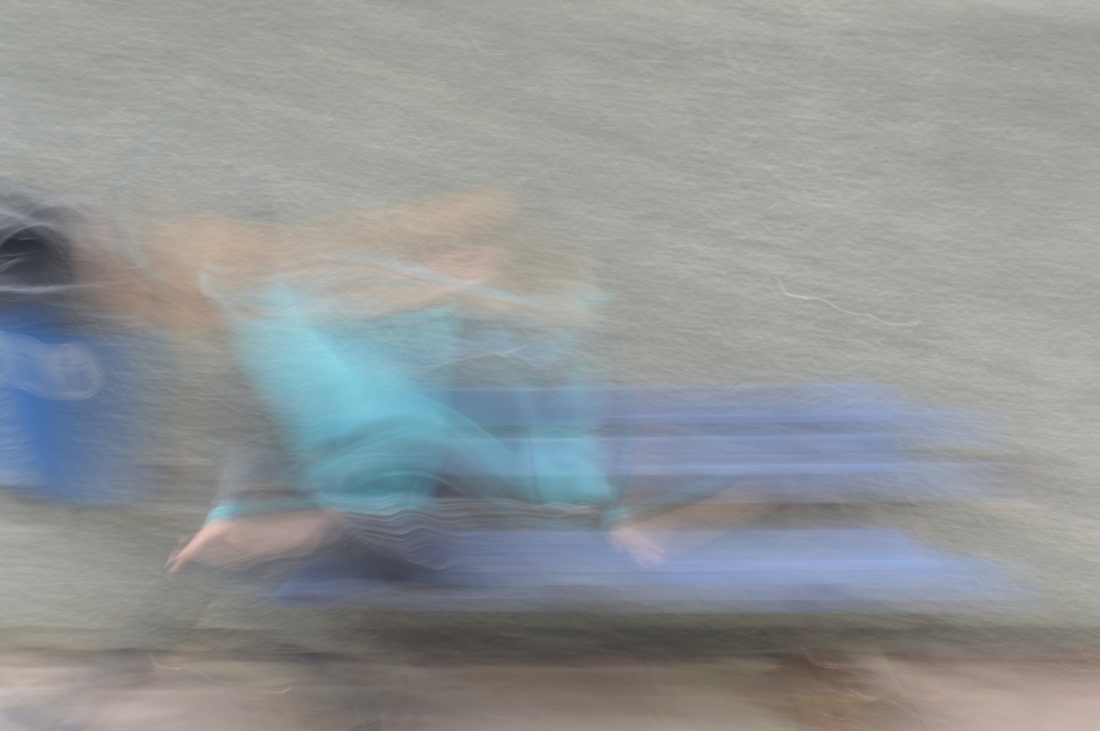
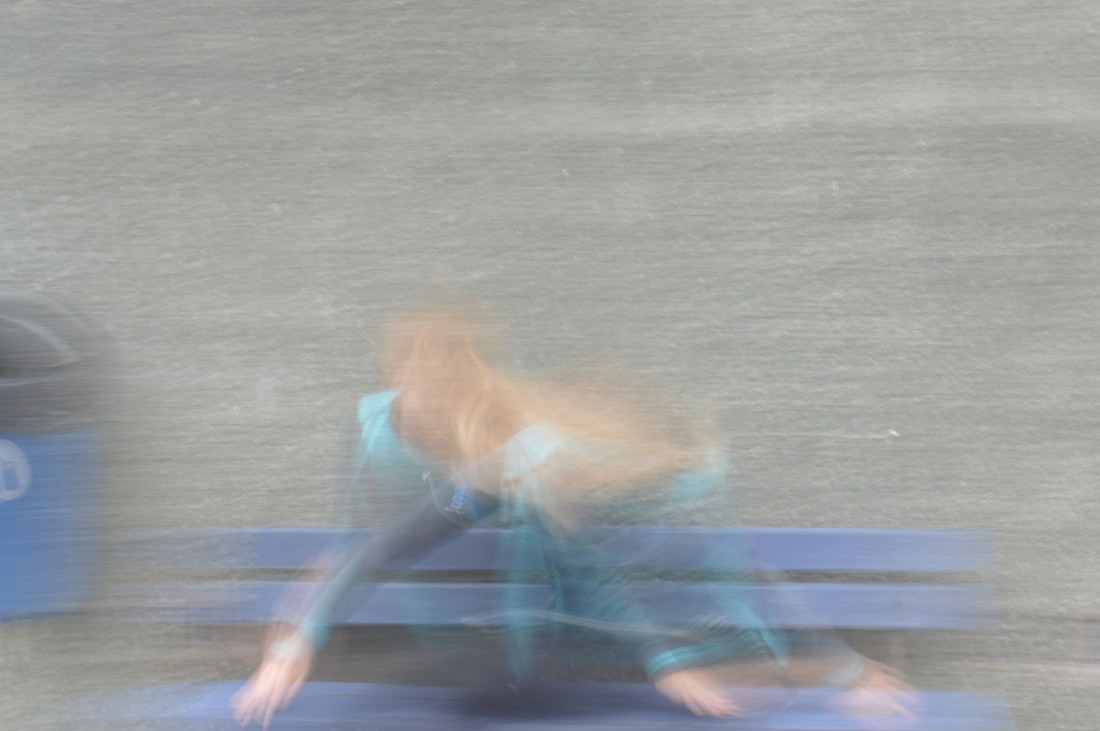
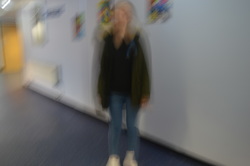
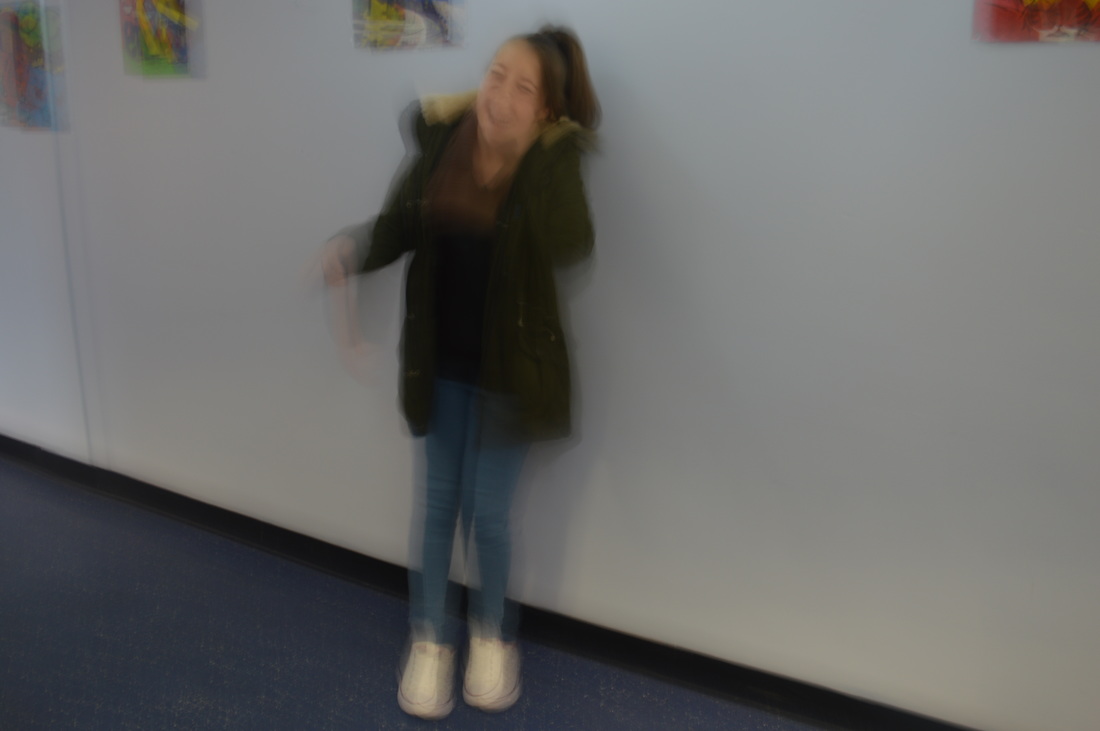
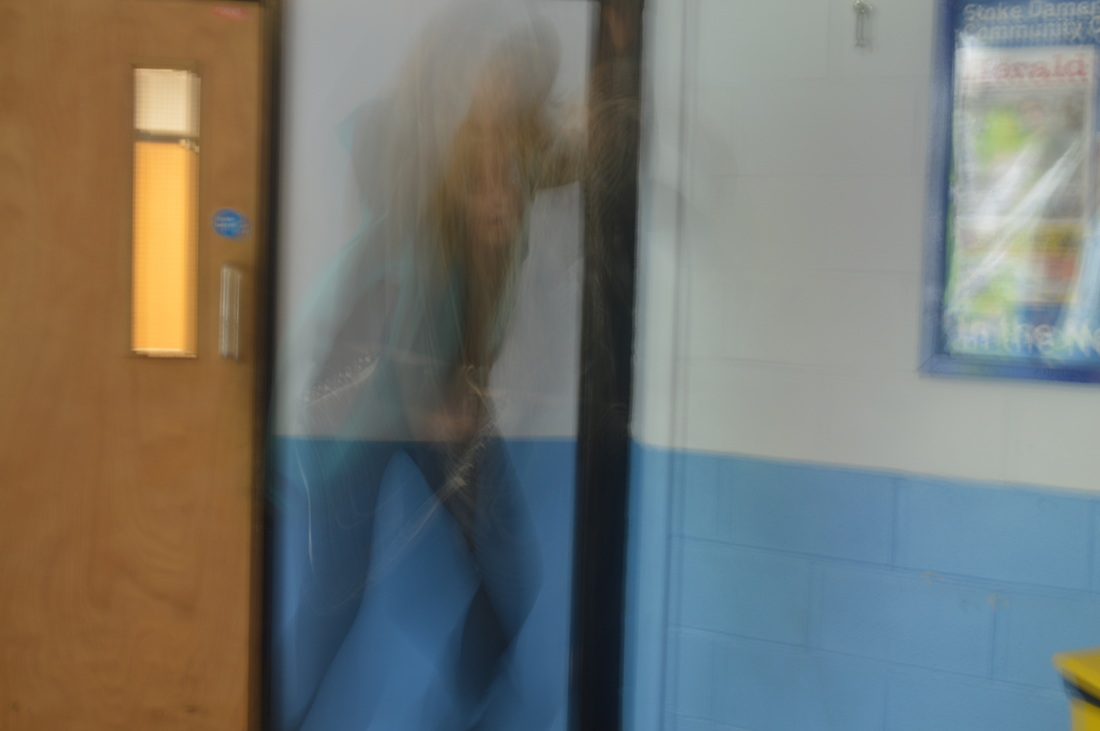
Most of these photos are linked towards the photographer we researched and her name is Francesca Woodman and she uses slow shutter speed on the camera; the image is blurred.Also she has a ghost effect to pieces which we have done in out work as-well. The thing that worked well in our photo shoot is that the shutter speed was perfect for our movement, but the problem was that the lighting wasn't that dark we needed something darker for it be similar to her work, but we experiment and know what to do for our next photo shoot.
